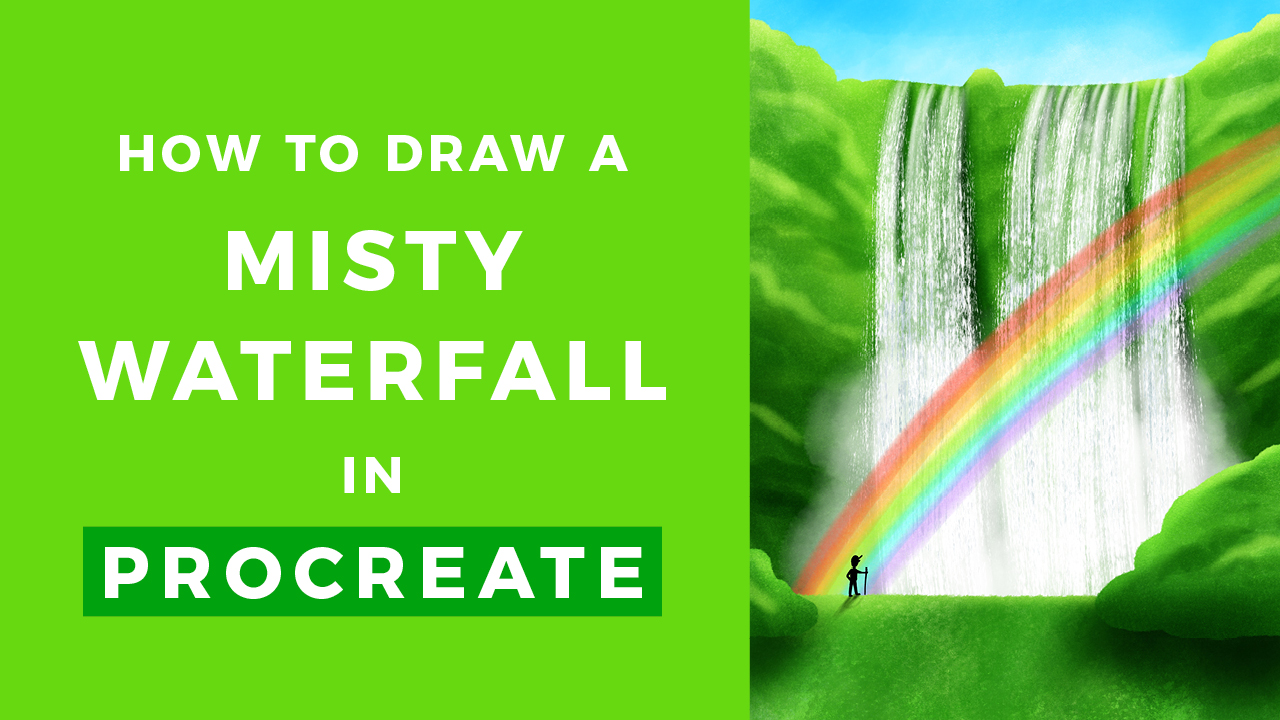
How to Describe a Waterfall // Procreate Tutorial
Learn to draw in Procreate using this detailed tutorial virtually how to draw a waterfall! With a rainbow! (You lot gotta accept the rainbow). Start with a basic sketch and follow forth equally we slowly add details and texture. Create watercolor launder textures using my latest brush set: Wash & Dry Watercolor toolkit. This video is a slap-up way to get familiar with that set. Be sure to scout the video to a higher place and bank check out the written step-past-footstep instructions below.
This waterfall was fatigued using brushes from my Launder & Dry Watercolor Toolkit. These brushes are great class making colorful and dynamic textures that mimic the look of watercolor washes.
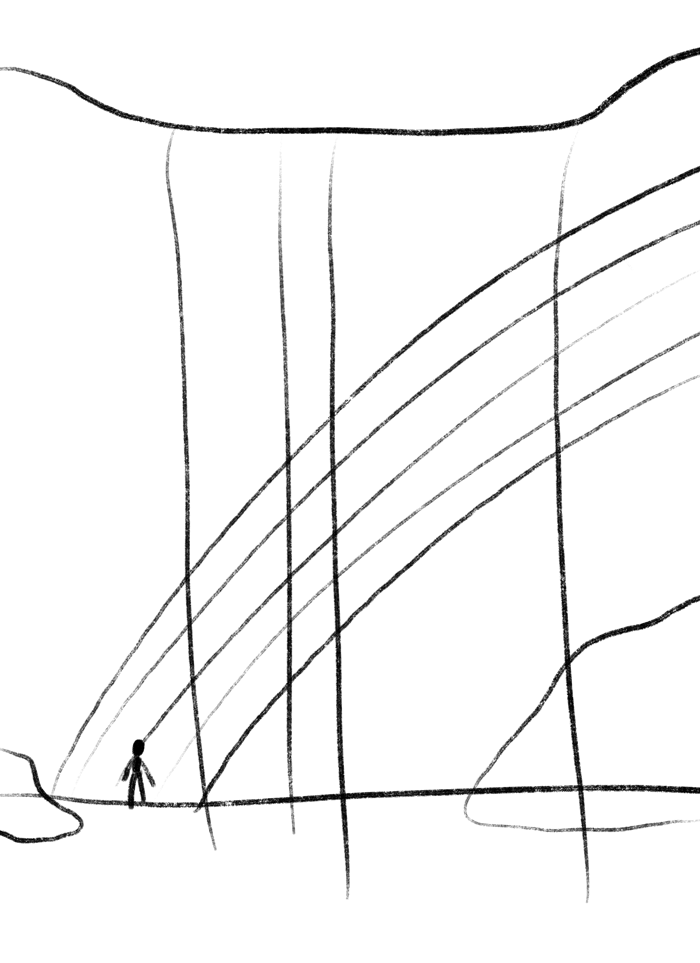
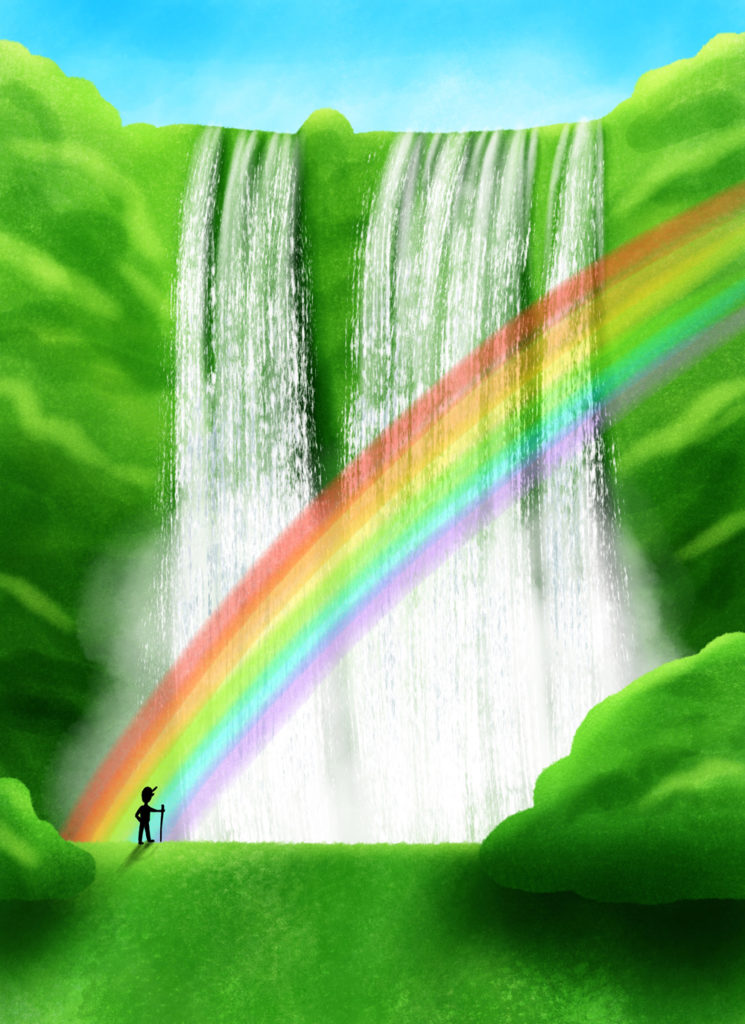
Plan out the limerick by cartoon a rough initial sketch. Use the DRY SKETCHER castor for your sketch. Hither is a link to the reference photograph that inspired my cartoon. When drawing a scene, remember of the elements in terms of groundwork, foreground, and subject. For this slice, I take the heaven and cliffs as my background, in the foreground are large hills or boulders, and the subject (the chief focal point of the piece) is the waterfall, rainbow, and tiny person. Making the person very small gives the waterfall a sense of calibration. The rainbow also acts as a leading line, drawing the viewer's middle to the person.
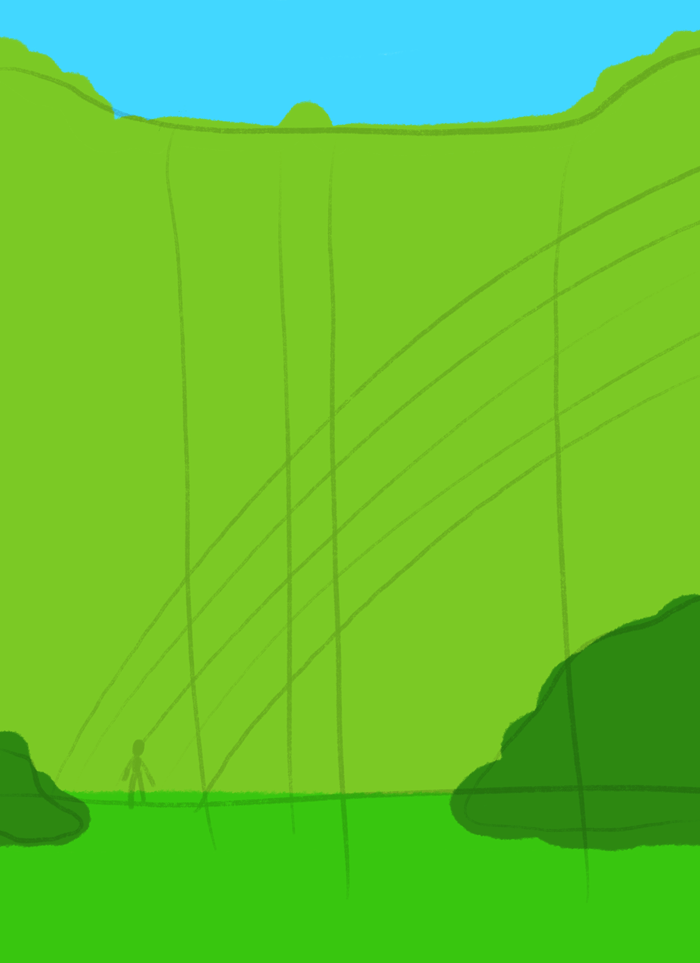
Once you plan out where everything goes, start planning out your bones color past color blocking. To draw these shapes, I used the CRISP SHAPER brush. The sky, cliffs, ground and hills/boulders are all on carve up layers. Depict these shapes using roughly the colors you lot'll desire to use in the concluding artwork, but don't worry almost committing to color now. The colors volition look different when we add texture and shading in the next steps. Use the Color Drib characteristic to chop-chop fill shapes with color.
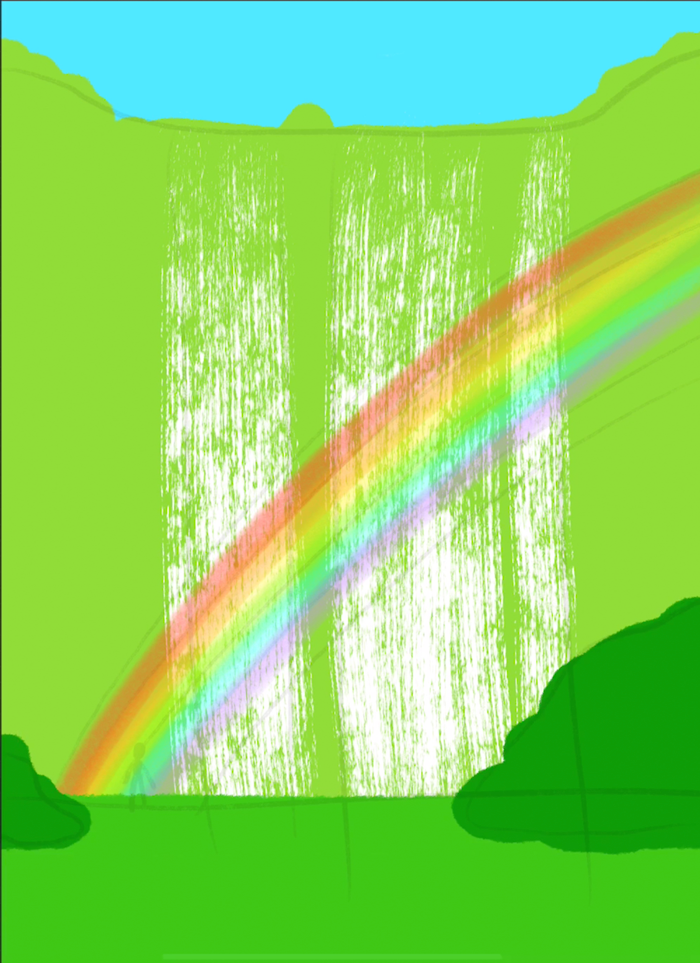
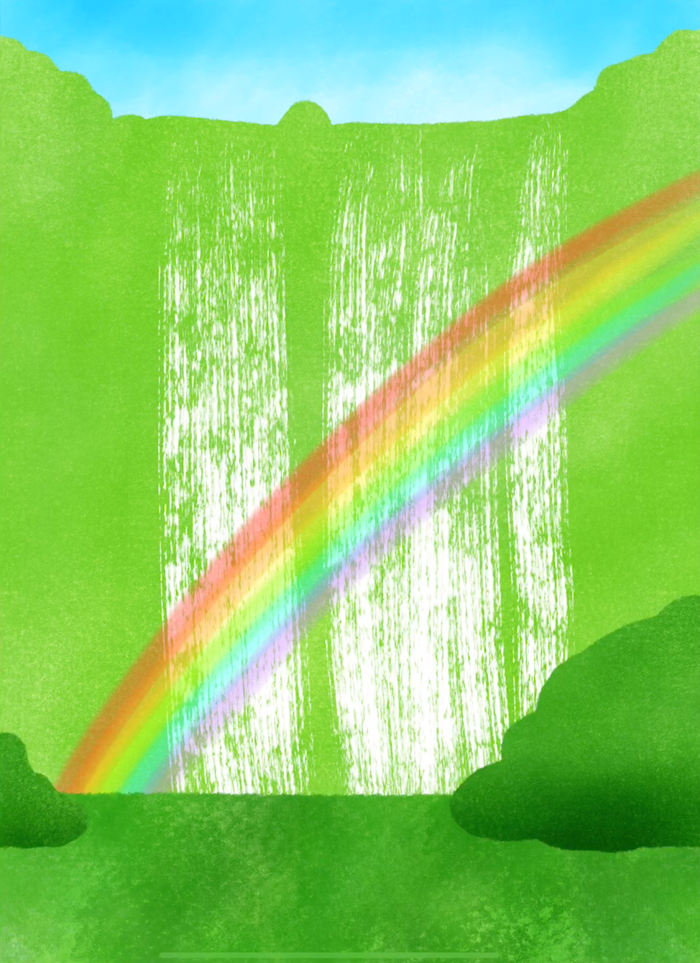
Add the ancestry of the waterfall shape. A dry out brush will be in that location perfect texture for falling water, so let'due south use the BROOM Beard brush. This brush is pressure sensitive, so the harder you printing down with your Apple Pencil, the more dense your brush strokes will be. Employ a lighter touch towards the top of the cliffs. Too draw in the rainbow using the Wash DETAILER brush. Draw an arc for each of the rainbow colors, overlapping each color slightly. You can turn off your sketch at this point.
To create wash textures using the Wash & Dry out Watercolor Toolkit, select one of your layers and plow on Alpha Lock. Select the color of the shape on that layer, and so use the Hue, Saturation, Brightness adjustment to plow the brightness all the way upwards to make the shape pure white. You lot can think of this like creating a bare canvas within that shape in which to paint your watercolor wash. Chose one of the 4 wash textures brushes. For the cliffs layer, I used the Stone Wash brush. Paint over the whole shape without lifting your pencil to brand your first wash layer. Repeat with another layer. Go on to repeat until you reach the desired color saturation and darkness. You can even layer in different hues for a dynamic, multi-tonal wash.
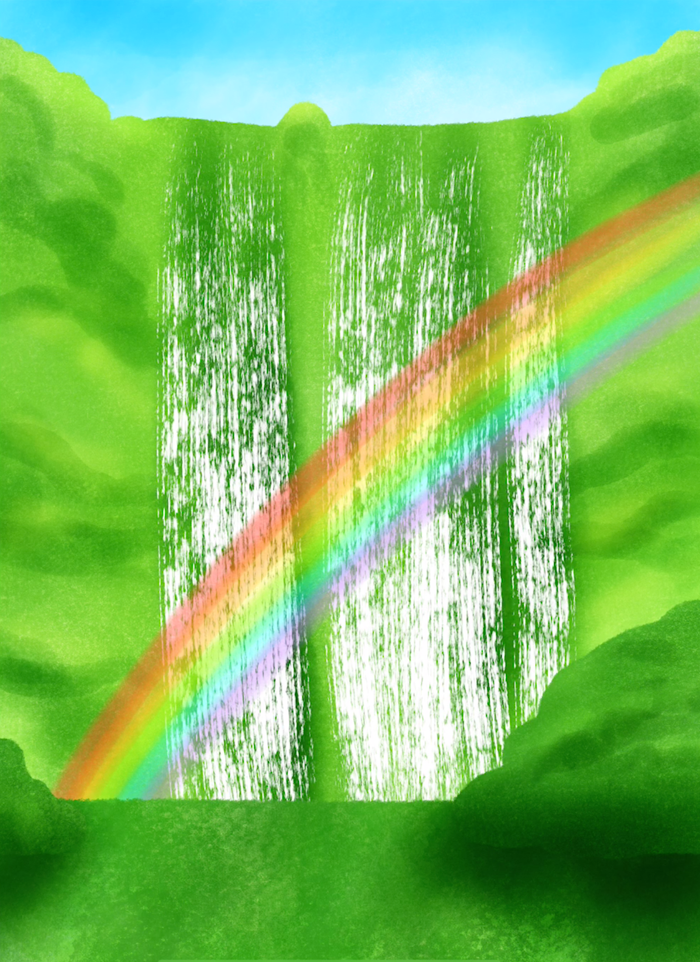
Layer on more than brush strokes with the same launder brush to darken areas of the drawing to add shading. Darken near the bottom of the mounds of earth in the foreground (or peradventure they're bushes?) and shadows on the ground as well. The SOAKING WASH castor is neat for calculation soft shading. Darken behind the waterfall. Use the same brush to add together jagged shapes to the cliffside to requite the impression of rugged terrain. Add highlights to the tops of the shapes and the height of the cliff border using the COLOR LIFTER brush. Also add together similar particular to the bushes.
On a new layer straight underneath the waterfall layer, utilize the Launder DETAILER castor to add together some strokes depicting rushing water. Employ the H2o Launder brush to brand clouds of mist near the lesser of the waterfall. Use the BROOM BRISTLES brush to fill up in the waterfall texture a bit more. Turn on Alpha Lock on the waterfall layer. Choose a very lite blue and utilise BROOM BRISTLES DARK to add more texture to that layer.
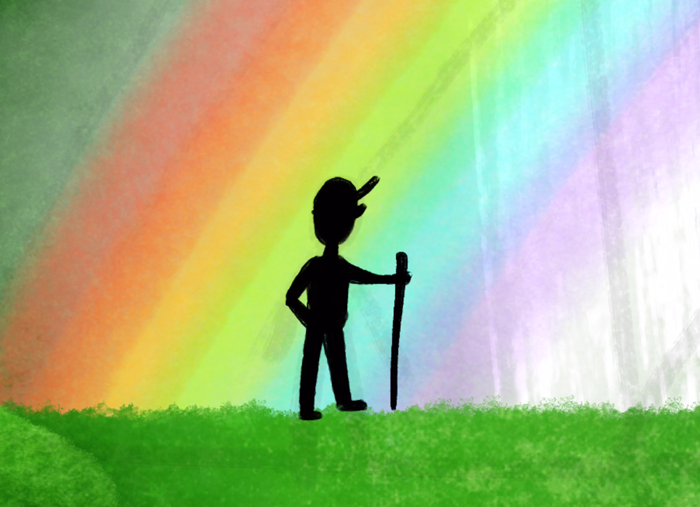
Zoom in and depict the little hiker person using the HEAVY Launder LINER brush. Apply the color black to make the person wait like it is in silhouette. Give the person cast shadow using the WASH DETAILER brush. Use the COLOR LIFTER to add some more highlights overall to the slice.

Source: https://bardotbrush.com/how-to-draw-a-waterfall-procreate-tutorial/
Posted by: sanchezdeate1964.blogspot.com


0 Response to "How To Draw A Waterfall Easy"
Post a Comment